Contribuire alla Python Packaging Guide#
La guida è una risorsa della community.
TL;DR#
Sono benvenuti i contributi sotto forma di issues e pull requests:
Se hai un’idea per qualcosa che dovrebbe essere inclusa nella guida, per favore apri un issue qui.
Se trovi un typo, sentiti libero di inviare una pull request per modificare direttamente il testo. In alternativa, se non ti senti pronto per una pull request, puoi aprire un issue.
Se sei interessato a contribuire alla traduzione della guida in altre lingue, dai un’occhiata alla nostra guida alla traduzione.
Se vuoi proporre un cambiamento più grande al contenuto della guida, per favore, prima apri un issue!
Se non sei sicuro di come puoi contribuire oppure non hai familiarità con git e github, questa guida ti aiuterà nel processo.
Come è strutturata la Python Guide#
La Python Packaging Guide è scritta in myST (una variante di MarkDowne rST) ed utilizza Sphinx, un generatore di documentazione scritto in Python, per costruire la versione HTML che vedi online.
Usiamo uno strumento chiamato Nox per gestire il processo di costruzione della guida.
I due metodi per contribuire#
Puoi contribuire alla guida utilizzando due metodi.
Il primo metodo consiste nell’usare una copia locale della guida nel tuo computer. Questa opzione richiede un setup leggermente più complesso, ma ti permette di costruire la guida localmente per verificare che il tuo contributo non abbia introdotto alcun bug prima di inviare una pull request. Questo è l’approccio consigliato per contributi consistenti, come ad esempio la scrittura di un’intera nuova sezione.
Il secondo metodo consiste nel fare le tue modifiche direttamente dal sito di GitHub. Questa opzione non richiede alcun setup sul tuo computer. In questo caso, quando invii una PR (continuous integration) le tue modifiche saranno testate o verificate e ci vorrà più tempo perché tu riceva un feedback in caso di problemi. Questo è il modo migliore per dare piccoi contributi, come ad esempio correggere dei typo, oppure se è la prima volta che contribuisci all’open source e il primo metodo ti intimorisce.
Forkare la repository#
Indipendentemente dall’approccio che hai scelto, il primo step è forkare la repository della Python Packaging Guide nel tuo spazio GitHub personale. Per farlo, devi cliccare sul tasto «Fork» nell’angolo in alto a destra della pagina della repository.
Learn more: Fork and Clone GitHub Repos è una buona risorsa per saperne di più riguardo il forking.
Per forkare una repo,
Assicurati di essere loggato in GitHub.
Vai alla pagina della repository che vuoi forkare, in questo caso Python Packaging Guide.
Nell’angolo in alto a destra della pagina c’è il tasto “Fork”. Cliccalo. Sarai indirizzato ad una nuova pagina dove dovrai cliccare “Create a new fork”. Questo creerà una copia della repository al link
https://github.com/<username>/python-package-guide, dove<username>è il tuo username GitHub.
Contribuire tramite il sito web di GitHub#
Come editare un file MarkDown#
La Python Packaging Guide è scritta in myST, una variante di MarkDown. Puoi editare il file direttamente dal sito web di GutHub. Per farlo, naviga fino al file che vuoi editare e clicca l’icona della matita nell’angolo in alto a destra del file.
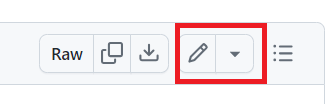
L’immagine mostra come editare un file in GitHub. L’icona della matita è evidenziata dal rettangolo rosso.#
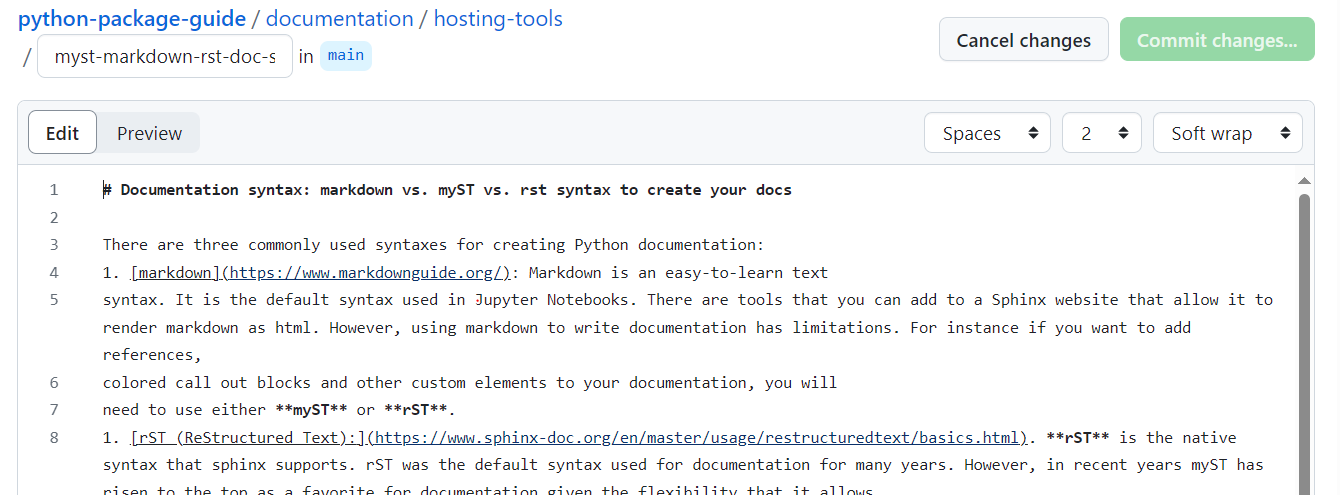
L’immagine mostra un file in corso di modifica su GitHub. Il contenuto del file è mostrato in un editor di testo.#
Per visualizzare la preview delle tue modifiche, clicca sul tab «Preview changes».
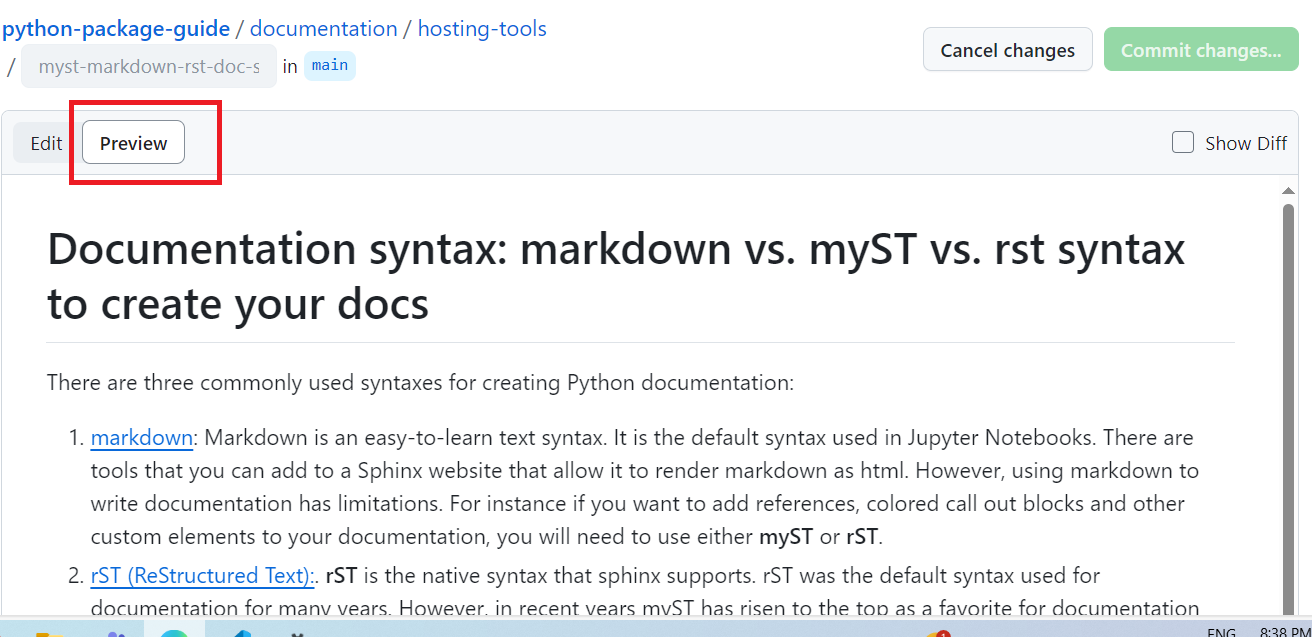
L’immagine mostra come visualizzare in preview le modifiche effettuate su GitHub. Il contenuto del file è mostrato in un editor di testo. Il tab di preview è evidenziato dal rettangolo rosso.#
Come committare le tue modifiche#
When you are done editing the file, click the green «Commit changes…» button in the top-right corner of the editor. GitHub will open a «Propose changes» dialog where you can write a commit message and an optional extended description. Make sure the commit message clearly and concisely describes the changes you made.
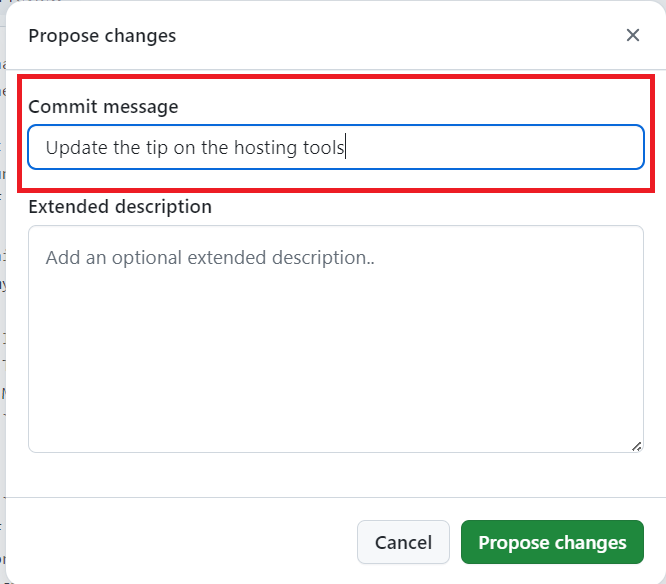
The GitHub «Propose changes» dialog with the commit message field highlighted.#
After writing your commit message, click the «Propose changes» button to save the commit to your fork.
Contributing locally on your computer#
Clone your forked repository#
To clone your forked repository to your computer, you need to copy the URL of your forked repository and run the following command in your terminal:
git clone <URL>
Replace <URL> with the URL of your forked repository. You can find the URL by clicking the green «Code» button on your forked repository page.
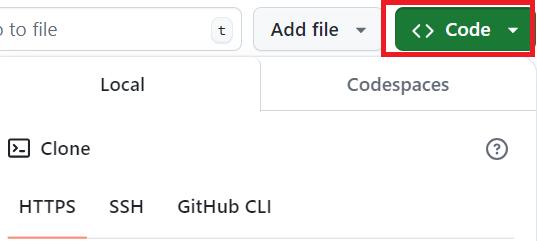
An image showing how to clone a repository in GitHub. The URL of the repository is displayed in a text editor. The code button is highlighted with a red rectangle.#
Create a new branch#
Before making any changes, you should create a new branch to work on. This will help keep your changes separate from the main branch and make it easier to submit a pull request.
To create a new branch, run the following command in your terminal:
git checkout -b <branch-name>
Create a virtual environment#
To build the guide locally, you need to create a virtual environment and install the dependencies. You can do this by running the following commands in your terminal:
On Windows:
python -m venv .venv
.venv\Scripts\activate
On MacOS and Linux:
python -m venv .venv
source .venv/bin/activate
Install the development dependencies#
To install the development dependencies, run the following command in your terminal:
python -m pip install -e '.[dev]'
The quotes around '.[dev]' matter if you use zsh, the default shell on macOS. Without them, zsh treats the square brackets as a filename pattern and fails with no matches found.
On Windows they are harmless in PowerShell, but if you use the older cmd.exe prompt you need to remove them and run python -m pip install -e .[dev] instead, because cmd.exe does not strip single quotes.
Commit your changes#
After making your changes, you need to commit them to your local repository. To do this, run the following commands in your terminal:
To see the changes you made:
git statusTo add the changes to the staging area:
git add .
To commit the changes:
git commit -m "Your commit message here"
Replace "Your commit message here" with a clear and concise message that describes the changes you made.
How to build the guide locally#
To build the guide locally, you can use the nox command. This will run the default nox session, which builds the guide and opens it in your browser.
To see the different sessions available, you can run the following command in your terminal:
nox --list-sessions
There are different sessions in nox related to building the docs: docs, docs-test, docs-live. You can run them by specifying the session name after the nox command.
docs: this session builds the guide and opens it in your browser.nox -e docs
To see the guide built locally, open the file
_build/html/index.htmlin your browser.docs-linkcheck: this session checks that links in documentation worknox -e docs-linkcheck
If the tests fail, you will see logs in the terminal and in
_build/linkcheck_output/output.txt.docs-test: this session runs the tests for the guide.nox -e docs-test
If the tests fail, you will see an error message in your terminal. You need to fix the errors before submitting your pull request.
docs-live: this session builds the guide and opens it in your browser with live reloading.nox -e docs-live
open the local version of the guide in your browser at
localhostshown in the terminal.
Before you submit your pull request#
Before submitting your pull request, make sure to run the tests and check the formatting of your code.
nox -e docs-test
If the tests fail, you will see an error message in your terminal. You need to fix the errors before submitting your pull request. Also make sure to check the formatting of your documentation by building the docs locally and checking that your changes look correct.
Submitting a pull request with your contribution#
How to make a pull request#
To open a pull request on GitHub, navigate to the main page of your forked repository and click on the «Pull requests» tab.
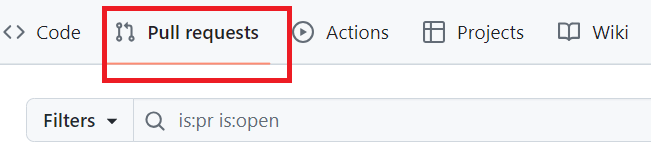
An image showing how to navigate to the pull requests tab in GitHub. The pull requests tab is highlighted with a red rectangle.#
Click on the «New pull request» button.
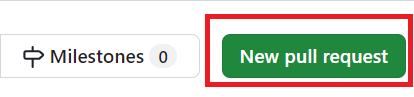
An image showing how to create a new pull request in GitHub. The new pull request button is highlighted with a red rectangle.#
Write a clear and concise title and description for your pull request. Make sure to describe the changes you made and why they are necessary.
What happens when you submit a pull request (CI/CD)#
Once you submit a pull request, a series of checks will be run to ensure that your changes do not introduce any bugs or errors. These checks include:
Code formatting and styles: checks that your code is formatted correctly, by
pre-commit.ci - pr check.docs build: checks that the documentation builds correctly, using
circleci.docs build / preview: builds the guide and publishes a Netlify deploy preview (see Pull request previews below). You will see the status of these checks in your pull request.

An image showing the status of the checks in a pull request in GitHub. The checks are displayed in a table with a status icon next to each check. The checks are highlighted with a red rectangle.#
If any of these checks fail, you will see an error message in your pull request. You need to fix the errors before your changes can be merged.
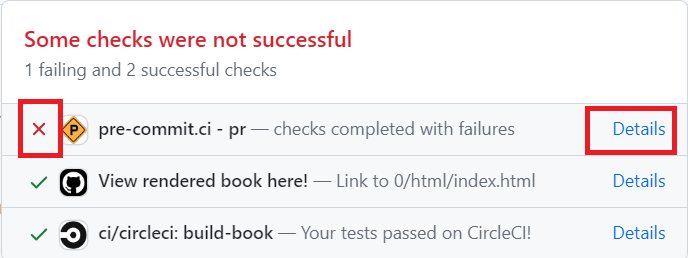
An image showing the status of the checks in a pull request in GitHub. The checks are displayed in a table with a status icon next to each check. The checks that failed and the details link are highlighted with a red rectangle.#
To get more information about the errors, you can click on the «Details» link next to the failed check.
Pull request previews#
This guide uses Netlify deploy previews. After the Netlify check finishes on a pull request, click Details next to the deploy-preview status to open a live build with your changes.
The guide is still deployed live using GitHub Pages: https://www.pyopensci.org/python-package-guide/.
What to expect from the review process#
Once you submit a pull request, a maintainer of the repository will review your changes and provide feedback. The review process may involve:
Comments: the reviewer may leave comments on your pull request to ask questions or provide feedback.
Suggestions: the reviewer may suggest changes to your code or documentation.
Approvals: once the reviewer is satisfied with your changes, they will approve the pull request.
You can make changes to your pull request by pushing new commits to the branch. The pull request will be updated automatically with your new changes.
Once your pull request is approved, it will be merged into the main branch and your changes will be included in the guide.
Additional help#
How to get help#
TODO: This section should describe the options for finding more help in case beginner contributors need more help (e.g., create an issue, post in a forum, etc).
Additional resources#
TODO: It should also include links to beginner documentation, like the GitHub docs.
Annex#
Code examples#
This guide uses the literalinclude Sphinx directive
whenever possible to keep code and prose separate. Code for use in the documentation is kept in the examples/ folder.
Referencing code in documentation#
If an example is present elsewhere in the documentation that you want to use, you can copy the literalinclude
directive verbatim and the examples will stay in sync.
If you already see code in the examples folder that you can use for new documentation, a new literalinclude can be
made to extract it into the site. Only a relative path to the code is required for a working literalinclude, but you
should in almost all cases also provide a :language: and :lines:. The former makes code examples prettier, and the
later can protect your example from future modifications to the code.
Pro tip: As an alternative to :lines: there are also the :start-after:, :start-at:, :end-before:, and
:end-at: options. And if the example code is Python, :pyobject: can be an even more future-proof way to keep the
same documentation content even through code refactors.
If you need example code that doesn’t yet exist in examples/ see creating code for documentation.
Creating code for documentation#
Whenever you come across a place that could benefit from a code block, instead of writing it in-line with a code fence
(``` blocked text) you can write it as a file in its own format. Your example may even already exist; see referencing code in documentation
.
If you want to add a new example that doesn’t fit into any of the existing example files, you can create a new file and
reference it in a literalinclude block. If it makes sense for that file to live within one of the existing example
projects please add it there; otherwise create a new folder in the examples directory.
If an existing example is incomplete or a new example makes sense to be added to an existing file, go ahead and add it, but take care to not break the rest of the guide. Whenever possible, extend the example rather that rewrite it. So for instance, add new functions to the end of the file, new methods after all existing ones in a class.
Example code is checked for correctness, so adding a new example may require adding additional tests for coverage, and will require fixing any failing tests.
⚠️ WARNING: great care should be taken when modifying existing example code, especially any modification beyond appending to the end of the file. All code examples are (potentially) shared examples. This makes for more consistent examples in the guide but can mean action-at-a-distance when modifying the examples for one particular use case. If you find yourself modifying existing examples try running this command and then checking those pages in a new build.
grep -lr '\.\./examples/path/to/modified\.py' documentation/
Example:
Instead of writing example code in markdown like this
Here is an example Python function:

```python
def is_empty(x):
    return not bool(len(x))
```
The python can be extracted into a .py file
def is_empty(x):
    return not bool(len(x))
Here is an example Python function:

:::{literalinclude} ../examples/contributing_example.py
:language: python
:lines: 1-2
As another example, if you only need to show part of a pyproject.toml, we already have complete project definitions,
you need only to find the relevant part.
Instead of writing this
Classifiers are just a list of plain strings
```toml
classifiers = [
    "Programming Language :: Python :: 3",
    "Operating System :: OS Independent",
]
```
an example could be extracted from an existing toml file
:::{literalinclude} ../examples/pure-hatch/pyproject.toml
:language: toml
:start-at: classifiers = [
:end-at: ]